Installing the Full GUI Server
Although Microsoft markets Server Core as being the default Windows
Server 2012 R2 installation, the full GUI version still represents the
most easily managed version of the server. The procedure for installing
the full GUI server is the same whether you’re installing directly from a
DVD-ROM or a network share, except that you must have some type of
network client installed on your computer to access a network share. The
following procedure outlines installation from a DVD-ROM:
- Follow the procedure outlined earlier for installing Windows Server Core until you receive the screen previously shown in Figure 2-3.
- Select either Windows Server 2012 R2 Standard (Server with a GUI) or Windows Server 2012 R2 Datacenter (Server with a GUI), and then click Next.
- Complete steps 6–10 of the earlier procedure. Installation will take 15–45 minutes, depending on your hardware.
- Type and confirm a secure password. Windows informs you that your password has been changed. Click OK.
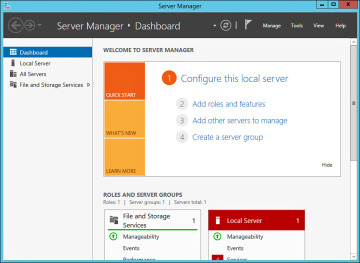
- Windows displays a Welcome message and prepares your desktop. Then the desktop with Server Manager shown in Figure 2-8 appears.
After you have performed the initial configuration steps, you will be prompted to press
Ctrl+Alt+Delete and enter your password when you restart your server.
No comments:
Post a Comment